Table of Contents
Introduction
What is Google Earth?
Google Earth is a program on which you can see the entire earth and its maps in 3D (or 2D) mode. It’s like the globe we used to have when we were small in the classroom, the different is that this one is entirely online based, more sophisticated ,detailed and also more fun to explore. The new update rolled out a couple of days ago contains a load of new exciting features that are quite useful to improve the user experiences across the google earth. So let’s see what are them exactly.
Where can I get Google Earth?
You can either download the google earth application for PC, Mac or Linux or use it on your chrome browser. It obviously requires internet to function properly, as the entire service is web based. Click to use google earth on chrome to start using it right away if downloading the application version isn’t that convenient, but first let’s see what the new update contains.
Google Earth Tutorial
Once you launch google earth for the first time, it will take you through the following tutorial
Sidebars
The sidebar on the left side, contains the following.
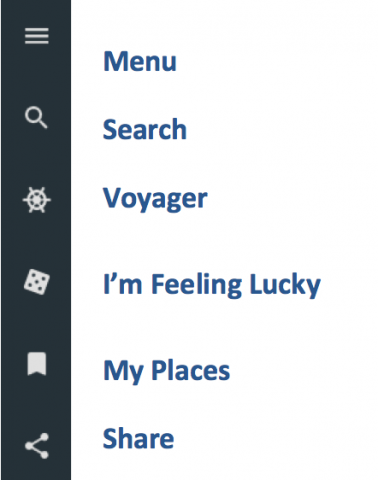
Menu
Three horizontal lines show the menu. When clicked, it displays the following
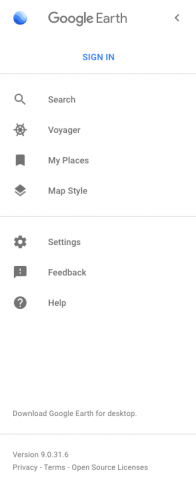
Search, Voyager, My Places, Map Style, Settings, Feedback, Help.
From here you can sign in to your Gmail account. If you already have a gmail account, then use its credentials to personalize it for your needs.
Map Style
You can change the Map style to Clean, Exploration, Everything or Custom.
Search
You can search places on Google Earth here.
Voyager
This is where we can explore the world without moving from our seats. All kinds of destinations around the world are available at your fingertips.
Bookmarks or My Places
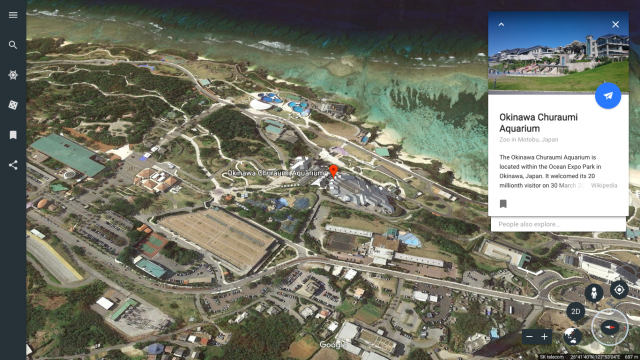
Here you can add your favourite places to personalize the google earth. To add a favourite place, search the place, then once it loaded a knowledge card will appear on the top right of the window, then click the bookmark ![]() sign below the knowledge card.
sign below the knowledge card.
To see these places just click My Places on the Sidebar.
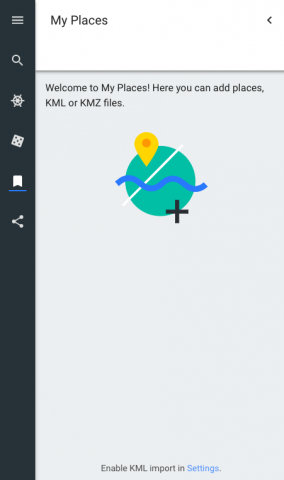
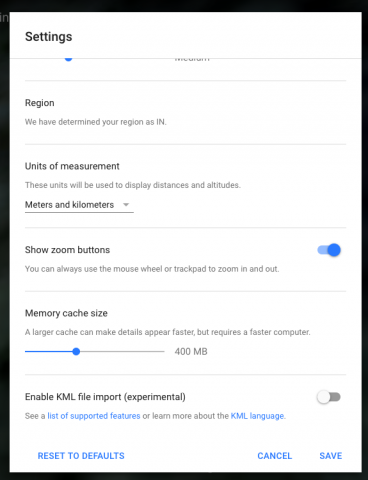
You can also import a KML file. To enable import simply go to Menu, settings and enable KML import.
Share
Here you can share the places with your friends either through a social network such as facebook, Google plus or twitter or by sending them its direct link.
Navigator
The navigator is placed on the bottom right part of the main screen
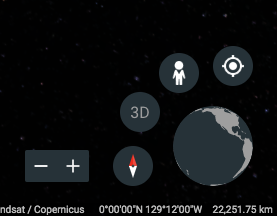
It consists of the Compass, Earth, 3D/2D View, Street View, My location and Zoom bar.
Earth
The small earth in the navigator indicates where you are respective to the place being viewed on the big map. Double clicking it will navigate you to the place clicked on earth while a single click will take you to the space and zoom out.
Compass
When you are exploring places, you can simply click the compass once to reset the place with the actual north and south. If you double click on the compass, it will swap its place with the small earth, so you can then move and see in all directions with the help of the compass.
Street View
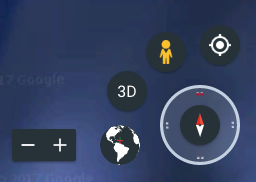
Street view represents with the tiny person on the navigator. When we click on it, it turns yellow and the map shows certain blue areas. These blue areas are actually explorable places available for street view. Just drag and drop the yellow man from the navigator to the street where you want to see. You will then enter the street view mode. Use the left mouse button to advance on the roads and see the surrounding area and how the place actually looks like.
My Location
This flies you to your location no matter where you are on earth.
Zoom Bar
The zoom bar has a + and – sign. The + sign zooms in while the – sign zooms out. It zooms in half the distance while zooms out twice the distance.
3D/2D View
This changes your view from 2d to 3d or vice versa.
Main Screen
The main window consists of the earth.
You can use the navigator on the bottom right to explore the earth.
Zooming
To zoom in and out without using the zoom bar, simply use the mouse wheel on middle of the mouse or drag two fingers on the track pad. Move the scroll or drag on the trackpad towards yourself to zoom out and away from yourself to zoom in.
Angle Changing
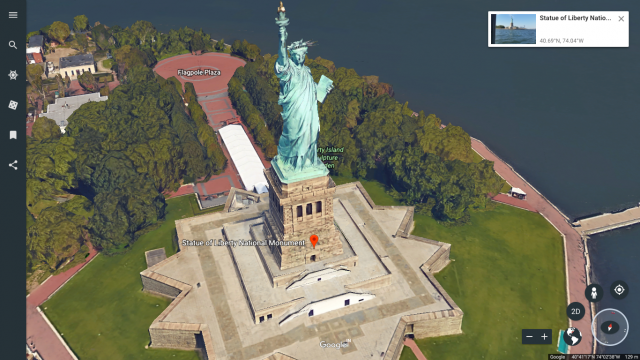
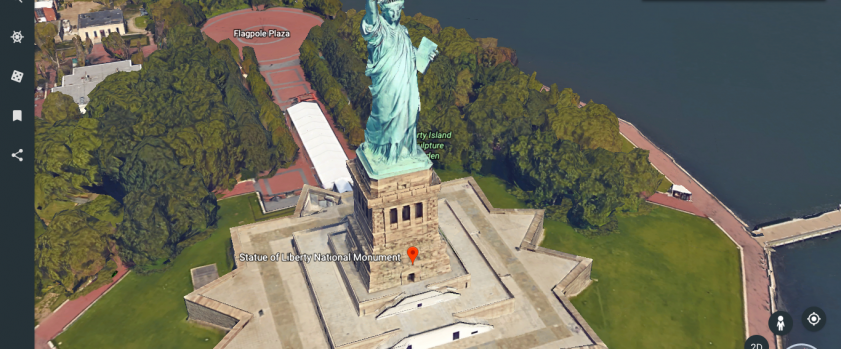
When you are in the street view and want to change to another angle, for example: seeing the statue of liberty from the bird eye view, simply hold shift and use the mouse or click the middle mouse button and move the mouse to change the angle of a scene. When the angle is being changed, it will display a circle on which the rotation is centered. Make sure the circle is on the object or the scene before changing the angle to have a precious view of it.
Moving
To change the position of the map simply click and drag or three finger drag on the trackpad.
Conclusion
Google Earth has definitely become better, but still there is a room for the improvements, especially in the street view mode, and we are quite positive that at this rate, it will be even more exciting in near future. So always keep your eye on the latest news and don’t be hesitate to check out new updates on google earth to see how it works out for you.



Amazing blog! Do you have any suggestions for aspiring writers? I’m planning to start my own blog soon but I’m a little lost on everything. Would you propose starting with a free platform like WordPress or go for a paid option? There are so many choices out there that I’m completely confused .. Any suggestions? Bless you!
If you plan to start your own blog, and generate money (monetize) from it then I strongly recommend to go for a paid webhost, because then you have the ownership of the site. You have to have a domain and a webhost to have a functioning website.
At the moment the cheapest webhost which supports wordpress is namecheap. You can buy both domain, and host from them at a cheap price. Contact them through here support@namecheap.com. They will help you. If you couldn’t get a proper response check their website. or search in Google namecheap webhost. Try the cheapest one first, and move up when you have a good traffic later.
If you don’t plan to earn money then use wordpress.com platform.