Google has brought in a new update for Gmail. It has introduced some new features along with a new look! Some changes brought in are indeed helpful and time saving. However, it is easy to go back to the classic gmail if someone is not comfortable to work with the new look by clicking on Settings followed by Go back to Classic Gmail.
Table of Contents
Getting Started
To try your hands on the new look, Open your Gmail Account. Click on Settings followed by Try the New Gmail.
The new changes brought in are explained below:
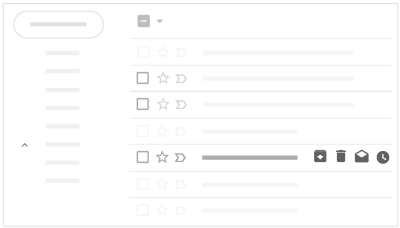
Organising emails from inbox
When the cursor is moved towards an email,actions can be taken quickly now. The following options will be available: Archive, snooze, delete,Mark as read or unread and delete on the right corner. Earlier, you had to select the mail first and then take the required action.This feature makes it easy to organise your emails and saves your time as well.
Snoozing emails
Sometimes multiple emails are received at a time which is not convenient for users. Later on, when you search for the ones you need, it is a huge cluster which becomes quite annoying at times. With the new snooze feature added, they can be postponed or temporarily removed till the time you do not need them. The email will come back on the top of the mail list on the date and time chosen by you and a notification is received as well.
How to use it?
Move your cursor in the direction of email and click Snooze in the right corner. Options will be available to you for snoozing it until later today, next week, tomorrow, next weekend, later this week, etc. If you want to set your own date and time, choose “Select Date and Time”. You can now set the date and time according to your preference and convenience. If multiple messages need to be snoozed, select the messages to be snoozed and click on the snooze option on the top and proceed in the same manner as in case of a single email.
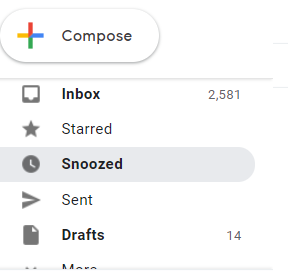
Finding snoozed emails
Click on the option Snoozed from the options available on the Menu . All your snoozed emails will be displayed here. Alternatively, you can also type “Snoozed” in the search bar above which will display your snoozed emails.
Smart reply
Based on the type of message received, you might see a few phrases while replying. Quick replies are possible using those phrases. They can be edited too if it is required.
Nudges
This is an application of AI. You will get nudges wherein you see old emails at the top suggesting to reply or follow up. You can hide such suggestions as well, if you want. Click followed by Settings. Uncheck the option Suggest emails to follow up on or Suggest emails to reply to under Nudges section
Making Reply all as default setting
Making reply all as default setting can help in time saving. Click Settings under the “Default reply behavior” tab, tap on Reply all for making reply all as default setting.
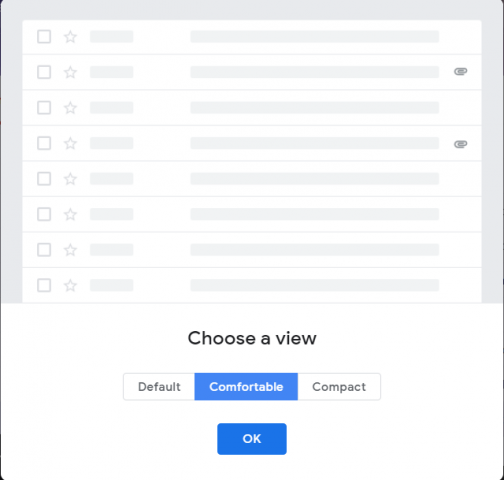
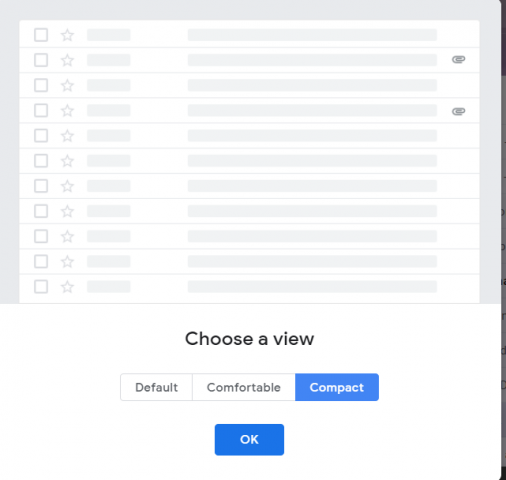
Customize your inbox view
Expanding or shrinking
You can customize the way your inbox looks like i.e. a spacious or compact view. Click Settings followed by Display density. Three views will be displayed to you : Default,Compact and Comfortable. Comfortable gives an expanded view with more of spacing whereas compact gives a shrinked look. Any one of them can be used according to convenience.
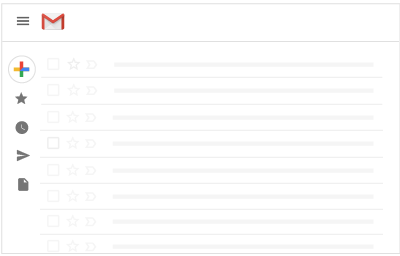
Showing or hiding the menu
You can choose to hide the menu by clicking on the Menu if you want more space for having a look at your emails.
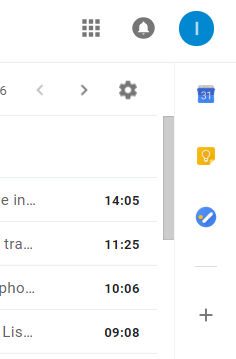
Calendar, Tasks, Keep & Add-ons
At the right hand corner, you can now get to use google products side by side. This way, there is no need to switch in between different tabs along with using gmail. It is easy to do multitasking with introduction of this feature.
Calendar: Under Calendar, you can view your daily schedule and create events.
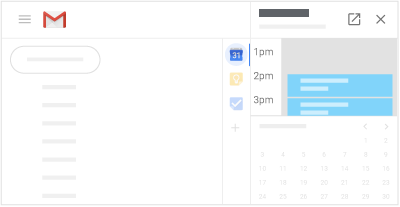
Creating a calendar event
- Click on the icon Calendar
- Select a time.
- Now details can be added and saved.
Creating a list or note
You can take down notes and create lists so as to list down important tasks.
- Click on Keep at the the right corner.
- Choose:
- New list
- Take a note
- Text can be added now. After adding text, click on Done.
Creating a task
- Click on Tasks .
- Tap on Add a task.
- Enter a task.
- To add details or a due date, click Edit
- Tap on Back when you are done.
Saving an email as a task
- Click on Tasks .
- In your inbox, search the email you wish to save as a task.
- Drag the email to the side panel.
Organizing your tasks into lists
Various kinds of tasks can be separated and organized into lists such as keeping personal and work items separately.
- Tap on Tasks on the right
- Ttap on the drop Down arrow on the top and Create a new list.
- Enter a name and click OK.
- Tap on Down arrow .To go to a different list. Choose another list.
Addons
Other apps can be used along with Gmail. It will help in managing projects and other information as well.
- On the right, tap on Get add-ons .
- Choose an application
- Tap on Install to install it.
Confidential mode
There’s a confidential mode available which will let you protect private information from unauthorized access. Choose an expiration date for emails and access can be revoked anytime.The recipient cannot download, forward, copy or print the message received. The recipient will a passcode to open a confidential email. This is a useful feature for protecting sensitive information. However, there are some disadvantages too which are listed below:
- It doesn’t prevent recipients from taking screenshots or maybe pictures of the attachments and messages.
- If someone has a malicious program on their computer, he/she might be able to copy or download the messages or attachments
- This feature is not yet available for G Suite customers.
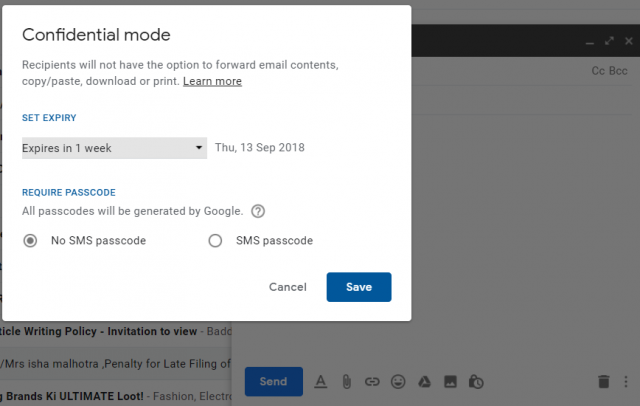

How to use it?
- Open Gmail on your PC and click on Compose.
- Tap on Turn on Confidential mode option available at the bottom right hand side.
- Set an expiration date according to your preference. For setting a passcode for the email, choose the option “SMS passcode” under Require Passcode category. The passcode will be received by the recipient as a text message. Mention recipient’s phone number for the same.
- If one doesn’t want to set a passcode, choose the option “No SMS passcode”.
- Click on the Save option.
Removing Access
If you wish to stop access before expiration date, click on Sent at the left side. Open the mail set as confidential and tap on Remove Access for removing access.