
Table of Contents
Preface
In a single day we receive hundreds of emails out of which hardly a couple of them are useful to us. In such a case it becomes very difficult to go through the emails to find the useful ones to us. Email organisation helps you to get rid of all unwanted emails from your sight and sort your important or relevant emails to find with ease.
Mark Unwanted Emails as Spams
The primary step to do is mark all advertisers or spammers as spam and blacklist their emails. This way any future emails from them will be stopped. To do this.
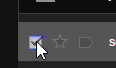
- Select the spammy/unwanted email/emails by ticking the checkbox right before its subject.

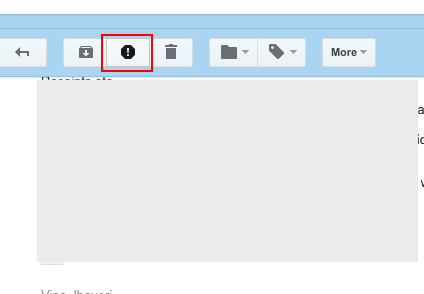
- When this new menu appeared on top of the inbox, find the exclamation mark which represents the “Report as Spam” button, and click on it. Once the file/files are marked as spam, they will be thrown into the “Spam” folder, and hereafter any new email from the same source will be thrown into the spam folder as well.


Label the Emails
The second step is to group all your emails in relevant folders or labels. For this we will create labels and group all relevant emails in them. For instance: create a label called “Telephone” and transfer all the emails received from the telephone company in it.
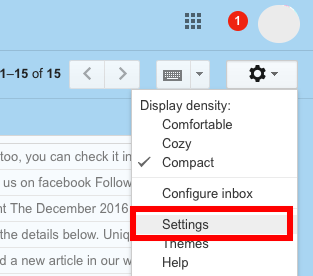
- Click on the cog wheel icon on top right corner in gmail , and select settings from it.

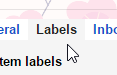
- Select the second tab called “Labels”

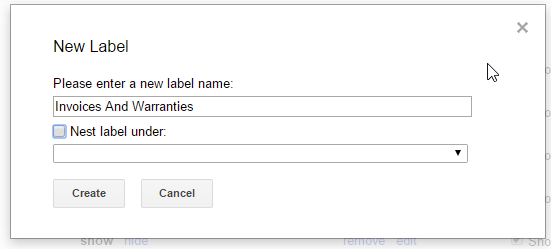
- Create some labels like..
Invoices : Received invoices are grouped here.
Office : Any email received from the work are grouped hereClick on the “Create new label” button under the “Labels” label to create them.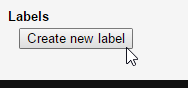

- To group the new label under another label, select an existing label from the drop down box by checking “nest label under” checkbox.

- Now search for the email from where the emails usually receive pertaining to the label, as an example if the label is “Office”, then use the office email as the search query example : from:my_username@officedomain.com. etc.. to search for multiple emails use from:my_username@officedomain.com|my_username2@officedomain.com


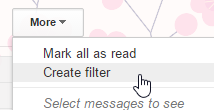
- Select the “Create filter” from the “More” dropdown box.

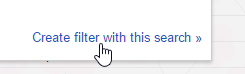
- Select “Create filter with this search >>” hyperlink.

- Check “Apply the label” checkbox, and select the label pertains to the searched email(s) (as an example, if the office’s email was searched, use the label made for that email :Office).


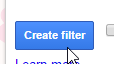
- Click on “Create filter” to finish creating the filter.

Group the Existing Emails Under the Created Label.
To group the existing emails under the created label, first pick a label, then search the emails to be grouped under that label. Once the search results is shown up.
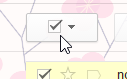
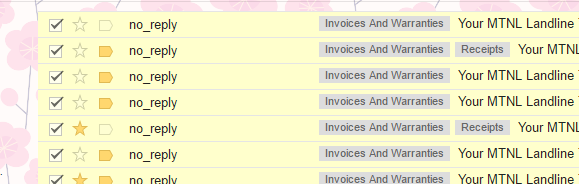
- Select all the emails by checking the checkbox as seen in the following screenshot.

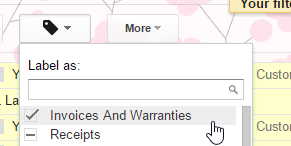
- Once all the emails are selected, select this very specific icon as seen in the screenshot, and then select an already made label (example :Invoice and warranties, office etc..)

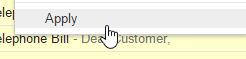
- Finally click on “Apply” to apply the selected label on all the selected emails.

Assign Color Codes
You can use colour code for your labels as per your preference by clicking on the funnel icon next to the label on the sidebar.

![]()
![]()
Use Archived
Emails which you don’t want to delete can be archived. Archive doesn’t delete an email but keep it in a separate location instead.
![]()
![]()
If you want to view an archived email, simply search for it or go to “all mail” on the left sidebar.

Use Configure Inbox
Configure inbox is a new feature introduced a couple of months ago, and it allows to categorize emails based on some predefined names. These names are defined by Google itself, and thus can’t be altered. It works quite well as long as received emails are from well known sources.
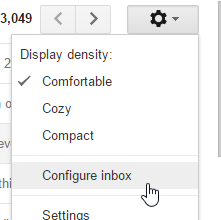
- Select the cog wheel on top right corner in gmail , and select “configure inbox” from the list.

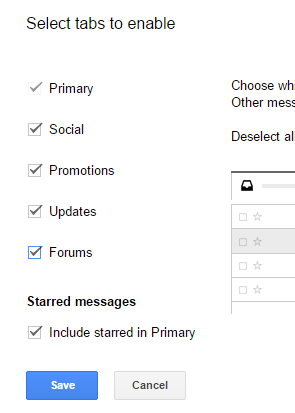
- Now tick all the checkboxes seen in the following screenshot. Typically other than primary, there are “Social”, “Promotions”, “Updates”, “Forums” as the main tabs.

- Click on “Save” and restart the gmail to make it fully effective.
Use Google Labs : Multiple Inboxes
Google labs, which is a native service provided by Google itself to enhance the user experience across the gmail web service, can also be used to group the emails. Therein turn on the “Multiple inboxes” and disable the “Configure Inbox” to activate the multiple inboxes features.
- Select the cog wheel on top right corner in gmail , and select “configure inbox” from the list.
- Now UNTICK all the checkboxes seen in the following screenshot. Typically other than primary, there are “Social”, “Promotions”, “Updates”, “Forums” as the main tabs.
- Select again the cog wheel, and select the “Settings” from the list, and then switch to the “Labs” section


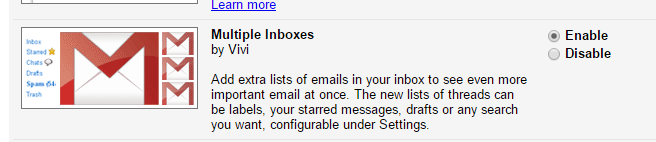
- Find the “Multiple Inboxes by Vivi” , and enable it by clicking on the “Enable” radiobox.

- After enabling it, a new section called “Multiple inboxes” will appear in the “Settings” window, find it and switch to it.

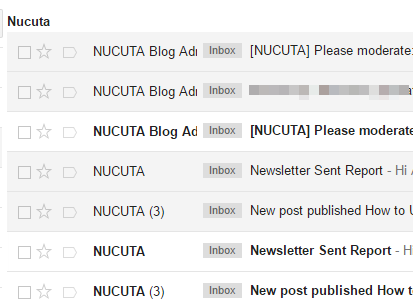
- In the “Multiple Inboxes” section, there are two columns which represent the “Search query” and the “Panel title”. Search query acts as a keyword filter when grouping emails, “Panel title” is for naming the new inbox made up with “Search query”. For instance, if you are getting emails from the office, and want to group them in a new inbox. Use the keyword unique to the office emails such as if the office name is nucuta, and if its email is something@nucuta.com? then use something@nucuta.com as the keyword, then all the emails received from this particular email address will be grouped in the new Inbox called “Nucuta”


- This is how the emails received from something@nucuta.com appear in the new Inbox.

Assisted by VipaJ


Hi, very good Article.
Thanks for sharing keep up the good work.
Thanks for the reply. please consider to share this with your friends too 😀
Wow, great idea.
I’ll apply it now.
Thanks for sharing
Thanks for the reply. please consider to share this with your friends too 😀