Google Drive is an amazing cloud service that allows us to store data online to be able to access it anytime, anywhere. It’s handy features mean you can sync your desktop computer, laptop or even your smartphone provided you have Internet connectivity.
Renaming files in bulk quantities in Google Drive is an eventuality which many of us have faced. Renaming helps us give more meaningful names to files so that they can be easily distinguished. It also helps us keep our database more organized. Renaming Google Drive data in bulk manually is an arduous task, hence using an automated solution becomes imperative considering the limitations vis-a-vis accuracy and quantum of carrying out this task manually. This tutorial teaches how to use this particular Bulk Renamer for Google Drive software to rename multiple files at once with ease. If you own a small business, and subscribed to google cloud storage for small business plan, then this may come in handy. So, let’s get started to perform multiple/bulk file rename for google drive.
Instructions
- Download Google Drive Renamer
- Open Easy File Renamer and click the Cloud Renamer tab.
- Click the Add Files option.

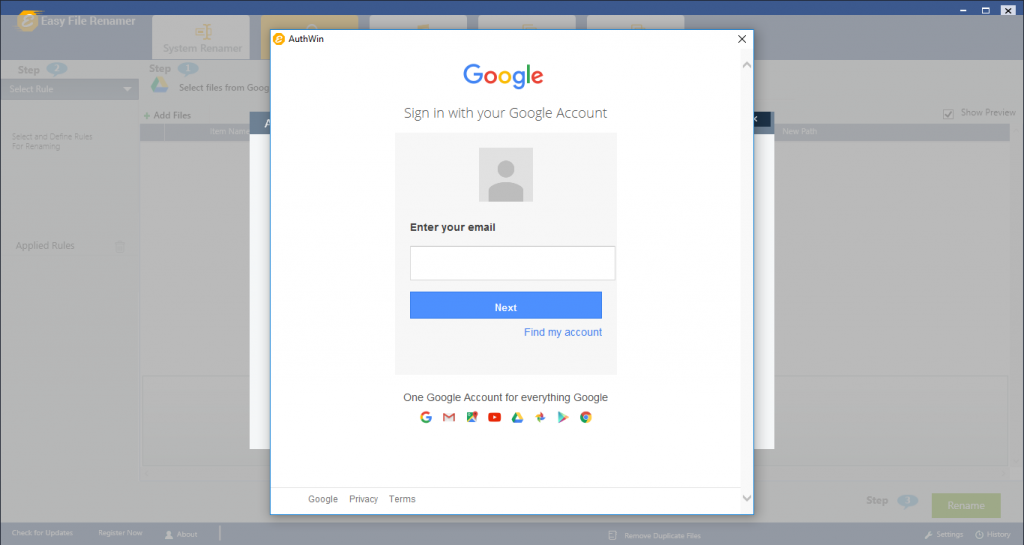
- Enter your Google account login credentials to sign-in to your account.

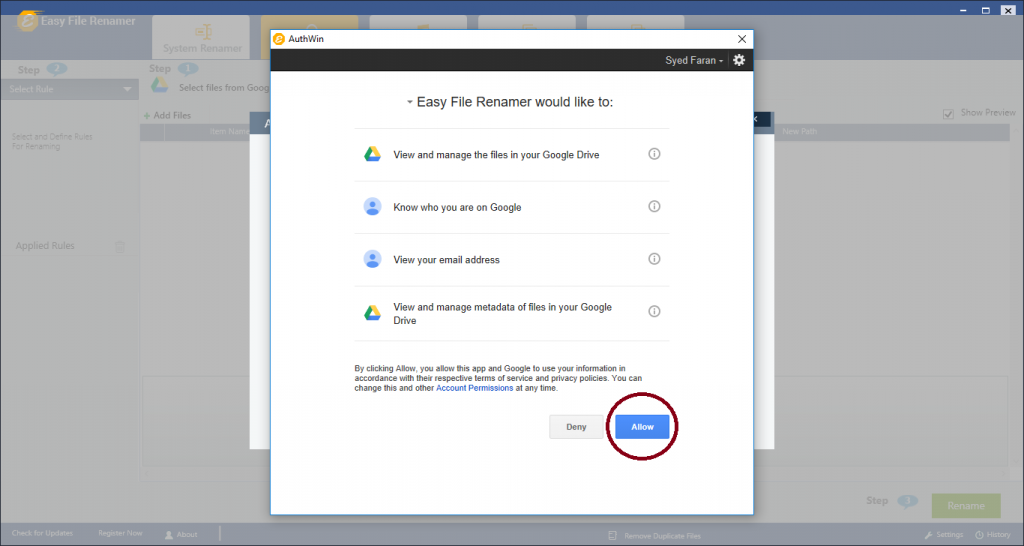
- Now click Allow to give Easy File Renamer access to your Google Drive data.

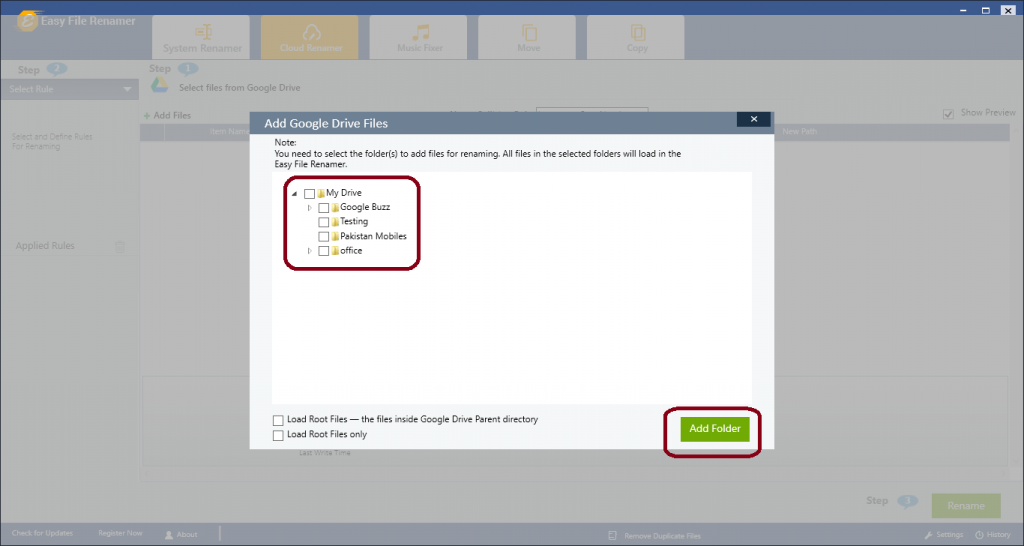
- Easy File Renamer will now ask you to select the folder(s) from where you want to add files that have to be renamed. Select the checkbox for all concerning folder(s) and then click Add Folder.

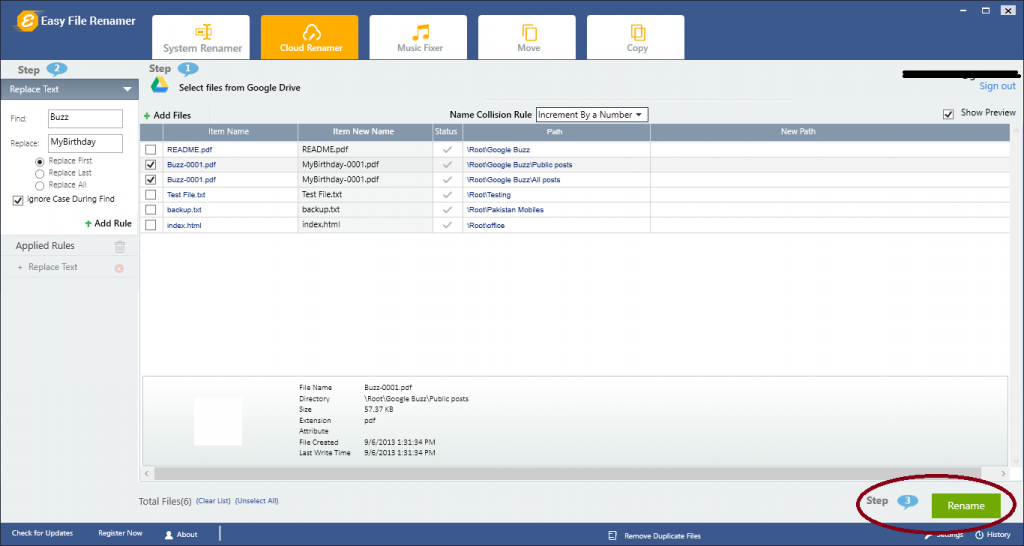
- Now all the files from that folder will be populated. You can now select the files which have to be renamed by selecting the relevant checkbox.

- Now select renaming rule(s) of your choice from the panel on the left-hand side.

- You might have to provide relevant information depending on the renaming rule you opt for. For example if the file names start with DSC and you have selected the Replace Text rule, you should enter DSC in the Find field and enter text of your choice e.g. MyBirthday in the Replace field.

- Next, choose between Replace First, Replace Last and Replace All to decide which instance of the text you specified in the Find field has to be replaced. Now click the Add Rule button.
- Lastly, you have to click the Rename button in the bottom right corner of the screen.

That’s it; Easy File Renamer will now rename all the files you have selected according to the rule(s) you have selected. Be sure to purchase the registration key of this software before you use this feature.


Great Blog! Its really helpful Blogging is an amazing skill with which you can share your thoughts online.Love your ideas keep up the good work!