Table of Contents
Preface
Google Drive is an online service provided by Google to store personal to public files in cloud. The best part about Google drive is that being accessible from anywhere, your phones, laptops. tablets or PCs, All have to do is just downloading its client and sign in with the authentication details of the google account with which the google drive is associated. In general, all android phones already have Google drive pre-installed in it, because It is crucial in today’s world where everything needs to be available in e (electronic) format. Yes it’s true, it’s an old habit of ours to photocopy all important documents, passports, contracts and all and stuff and keep them in physical format, but think about it, aren’t most of the transactions happening online now? Whether it is to apply for your voters ID, examination form or apply for a visa , almost everything is now being slowly pushed towards to the digital age devices (computers, mobiles etc..) due to the convenience of its use. This tutorial explains how to use the google drive, and introduces some of its key features that are useful throughout its usage.
What is in The Main Menu of Google Drive App
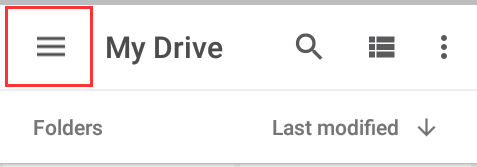
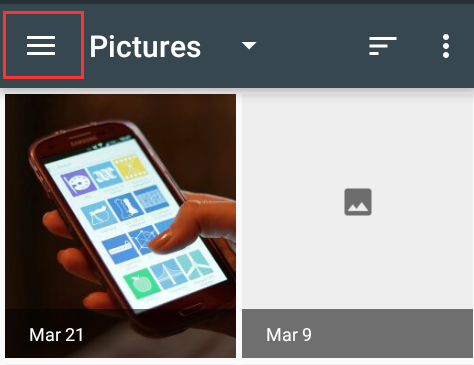
After the Google drive app is opened, the following “My Drive” appears as the startup window. Right before it there is this three horizontal lines button which opens the main menu to the app. tap on it to open the menu to view its items. The main menu acts as a gateway to main areas in the google app. Each areas is accessible by tapping on the respective title belongs to it. At the moment, the app provides the following areas.
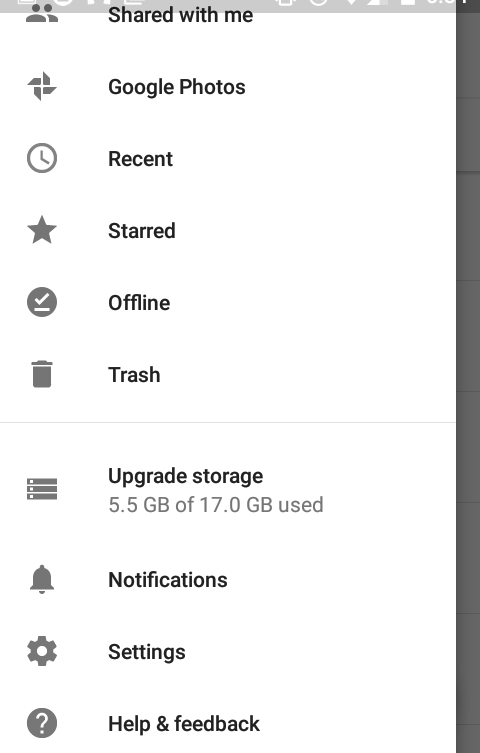
Explanation of Each Menu Item
- Shared with me : To access the files which are shared with the person who logged in to the Google drive app.
- Google Photos : All the photos stored on the mobile and synced with google servers are showing here
- Recent : Recently opened/used files are showing here.
- Starred : The files which were marked as favorite are showing here.
- Offline : Files which were made offline are showing here.
- Trash : Deleted files are showing here. Note that when a file is deleted from the google drive app, it isn’t deleted permanently, but is moved to the trash instead.
- Upgrade storage : The plans provided by the google are going here. In default, every user is given 15GB of free storage for free of charge, and it can be extended to a higher plan at this location.
- Notification : All the notifications made on Google drive go here. This includes when someone shared a file with you, commented on a file shared with you, replied to a file shared with you etc..
- Settings : The settings pertain to Google drive go here.
- Help and feedback : The documentation written for the google drive is in here. When in doubt, always check this section.
How Much Space is Available on Google Drive
It provides free limited space up to 15GB, plus additional 2GB as bonus if you had completed the privacy check up back in 2016. Also the free available space can be extended up to 30TB of storage for a small monthly fee, but frankly 17GB is more than enough for personal usage as long as it’s not filled with high quality images and videos which easily eat up the whole space sooner than expected. However, it may not be enough for businesses, especially if it’s a medium to corporate sized business which tend to share a large amount of files in each day, and that’s when the additional space comes in handy. The prices are affordable, and a special discount is received if paid for the whole year. Since it’s from Google, the reliability, quality, trustworthiness and the security is obviously at the top notch as usual. Having 2 factor authentication, available for free of charge as a part of Google services, makes it even more secure.


How to Check Currently Active Plan on Google Drive
Checking the currently active plan is relatively straightforward, and along with that “available space” of the currently active plan and “how the available space is used among many services” in Google are shown in the same window. The following series of screenshots show how to get into the “Drive Storage” window where it shows all details that were just mentioned.
- Open the Google Drive app on Android by tapping on its icon (the icon is same as the featured image posted at the beginning of this article)
- Locate the mobile menu (main menu) launcher which represents with 3 horizontal lines button, then tap on it to open the mobile menu.
- Locate and tap on “Upgrade storage” which will take you to the “Drive Storage” window.


How to Upload Files to Google Drive?
To make all your documents available in electronic format, simply scan them, thereby converting them to the digital language that the computer can understand. If you do not have a scanner then go to a photocopier and get them scanned for a very less fee. Once your documents are scanned and taken into a device which is connected to the internet, say for example a mobile phone, simply upload them on Google drive, thereby making all the uploaded documents accessible from anywhere in this world.
- To do this open the Google drive by tapping on its icon in the app drawer.
- Press the + sign button from the bottom right corner of your screen and select the files you want to upload.
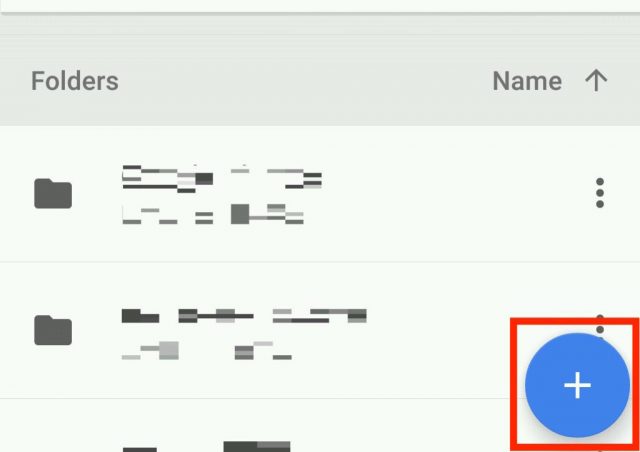

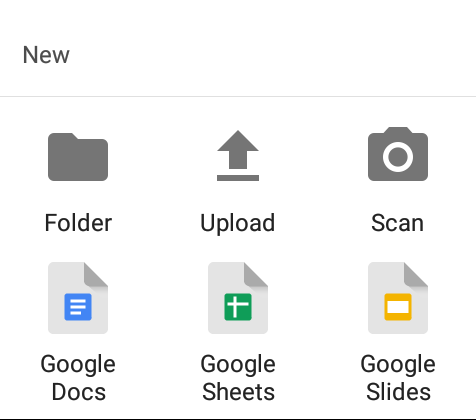
- Clicking on the aforesaid plus button results in a new window to appear right below of the app, where it shows multiple ways the files to be uploaded.
- Folder : Create a blank folder as a container to upload files into it
- Upload : Upload any file available in the device. (notice that even the files from the sd card can be uploaded directly from it)

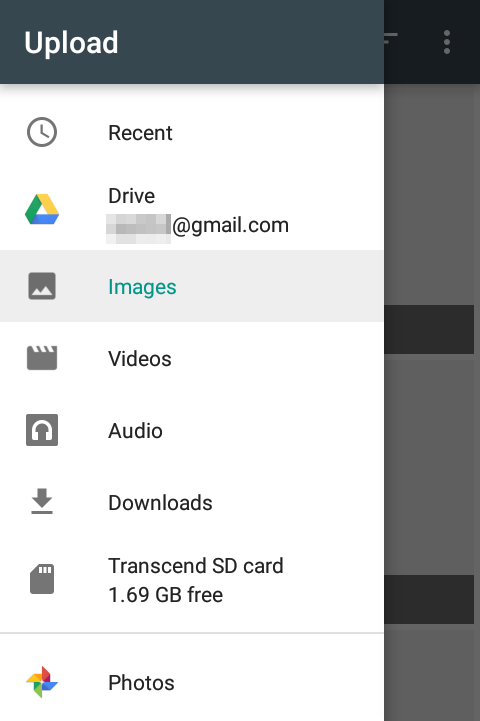

- Scan : Capture and upload photos taken directly from the device (such as back and front phone cameras)
- Google Docs/Sheets/Slides (G Suite) : Create a google office file, also known as G Suite and upload it into the google drive. G Suite is formerly known as Google Apps for Work and is provided as a part of Google Cloud for businesses and individuals at a affordable price. Fortunately, Google Docs/Sheets/Slides are for free of charge.
How to Move Files on Google Drive
Single file/folder, and multiple files/folders can be moved directly on the google drive app back and forth in a convenient way with a couple of clicks. However, the moving approach is slightly different between moving a single file, and moving multiple files, but it’s just few more steps. The following steps demonstrate how to get it done.
How to Move a Single File/Folder
- Locate the file to be moved, and tap on its three dotted vertical button.
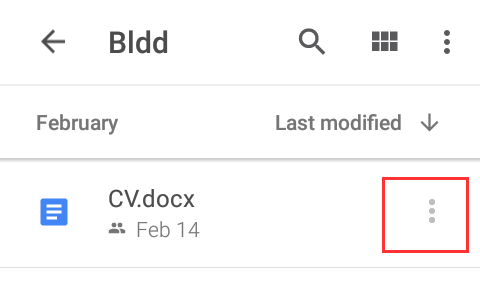

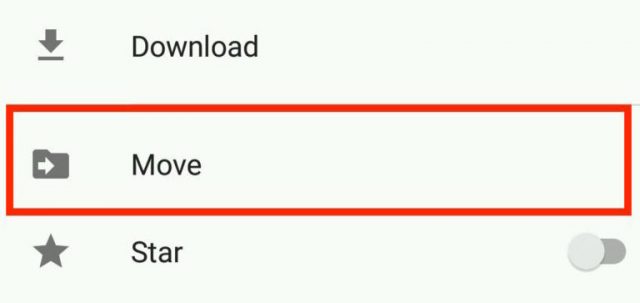
- Locate “Move” option, then tap on it to start moving the file to a different directory.

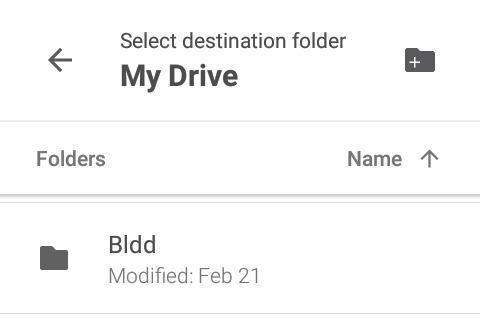
- Select the folder where the file to be moved by tapping the intended folder.

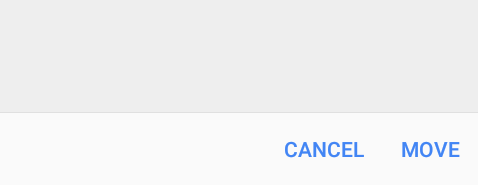
- When the folder is tapped, which results in the folder to be opened, “Move” button appears, and it is there to be clicked to move the above selected file. Simply tap on the “Move” button to finalize the moving procedure.

- Once the files are moved, the message which indicates the outcome will appear right below the app, and above the notification bar.
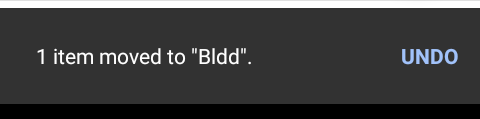

- If it says the procedure is succeeded, the moved file can hereafter be seen in the folder where the file was moved.

How to Select Multiple Files/Folders (to Move, Remove)
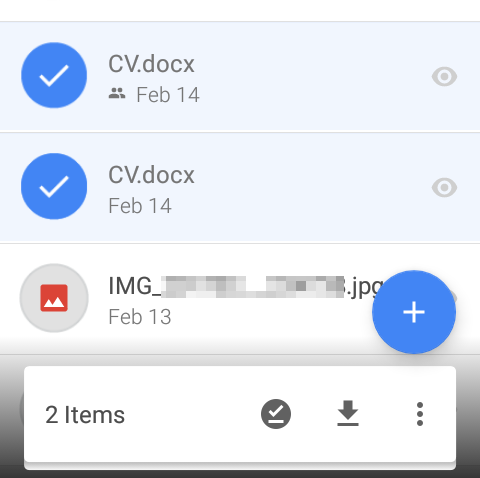
The procedure is almost same as moving a single file, except this additional step is added on top of that. In the aforesaid section, before selecting the file, first locate the files/folders to be moved, then tap and hold the each file/folder one after another, which results in a white bar to appear below the app with the number of selected files/folders, then simply select its three vertical dotted button, and continue the previous segment from its 2nd step.
How to Print a File on Google Drive
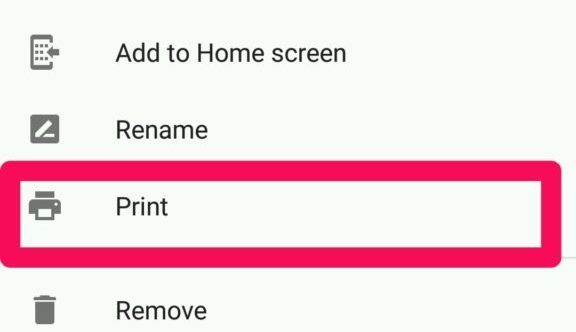
Printing a file on Google Drive is as same as printing a file on any operating system, but it involves a lot of steps, but fear not the following guide demonstrates how to print a file with any printer through Android without even the printer having at your location. This only needs an active internet connection, and a gmail account. The guide was written for the whole android operating system, not just for the Google drive app. However, the steps stated there are still applicable here with few steps. If a file stored on Google drive to be printed, simply select a file by tapping on its three vertical dotted button, then select the “Print” on the menu, then follow the tutorial posted right after the following two screenshots. Make sure the phone is connected with the Internet too, as an active Internet connection is required the google cloud to function, otherwise the “print” item may not appear in the menu at all.
How to Make a File Available Offline
In default whatever stored on Google drive is only viewable as long as its cache data is available in the phone. However, the cache is temporary, and often removed when the phone doesn’t have enough space, the phone is cleaned by a disk cleaner utility app, new files are viewed across the Google app. To overcome this problem, the available offline function can be used to make any file available offline indefinitely. So even the phone isn’t connected to the Internet, the file is still viewable, but this costs a bit more space depending on the size of the file. If a large amount of files were made available offline, it consumes a significant amount of space in the local drive in phone. So make sure only the important files are made available offline. To make multiple files available offline, simply follow the instructions given in “How to Select Multiple Files/Folders (to Move, Remove)” (click on the up arrow button on the right bottom corner, then select the title from the table of contents)
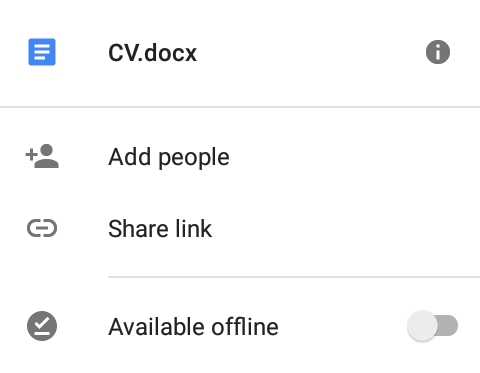
- Locate the file to be available offline, and tap on its three dotted vertical button.
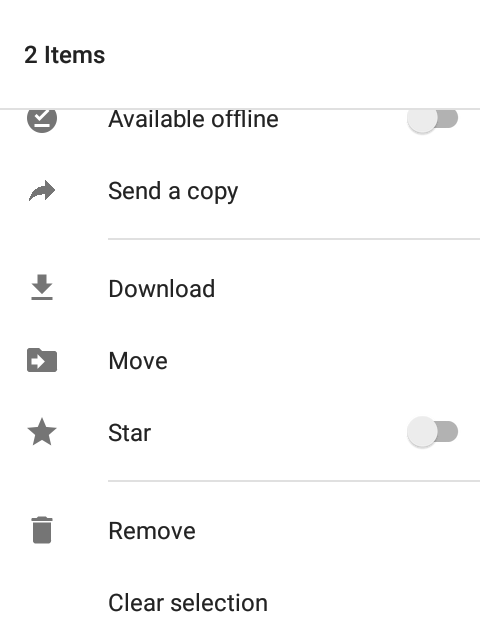
- Tap on the “Available offline” slider to switch it on to make it available.

- Once the procedure is successful, its notification appears below of the app along with the number of files the selection affected on.

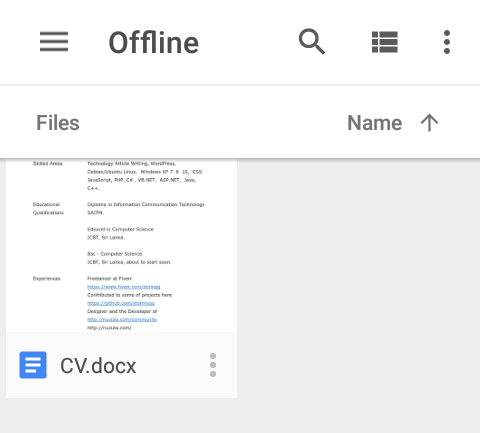
- To check all the offline files, visit the “Offline” window through the mobile menu by clicking on the “three horizontal lines button” on the left side of screen as seen in the following screenshot

How to Favorite a File on Google Drive
- Locate the file to be available offline, and tap on its three dotted vertical button.
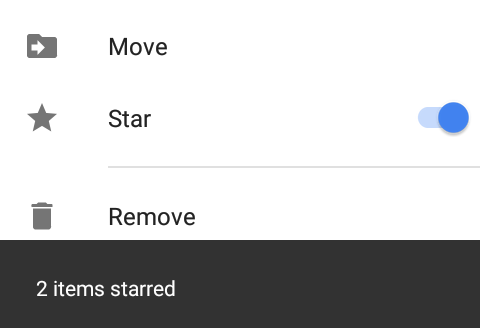
- Tap on the “Star” slider to make it starred, and once it’s done the number of files that were starred are showing as a notification below the Google app.

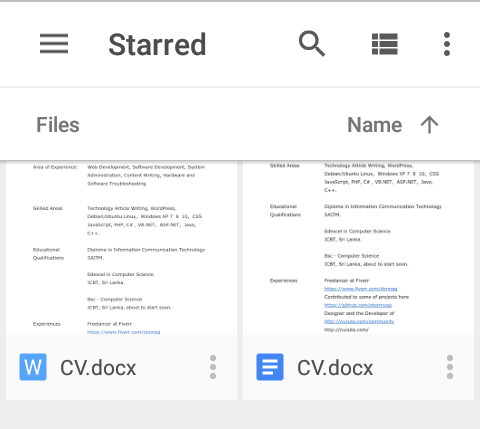
- To check all the starred files, visit the “Starred” window through the mobile menu by clicking on the “three horizontal lines button” as seen in the following screenshot.
Send a Copy of the File to Someone else
Sending a copy of a file is easier as same as copying a file to another folder. However, only files can be sent, not folders. In order to share a folder, it has to be compressed and made as a single file, then it can be sent just as a regular file.
- First locate the three vertical dotted button of any file which is about to be copied, and tap on it to open the file menu.
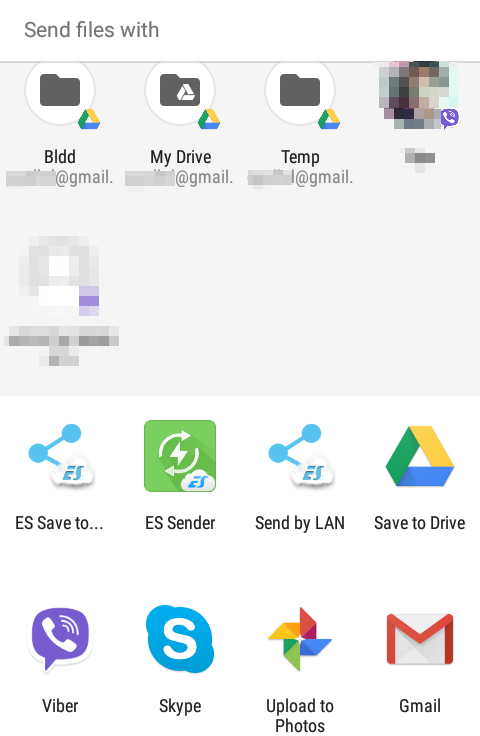
- Now select the platform where the files to be shared. As demonstrated in the following screenshot, files can be sent to another folder in the same Google drive, a messenger client such as, Viber/Skype/Whatsapp, device in the same network (Send by LAN) if an app like ES explorer is installed, another person via the Gmail app as an email attachment, Google photos if it’s an picture.

How to Delete a File, Files ,Folder ,Folders on Google Drive
Like stated earlier, once a file is deleted, it’s straightly moved to the “Trash” instead of permanently removing from the Google drive. The following guide explains how to remove a file/files/folder/folders permanently from the Google Drive without leaving any trace.
- Select a file to be removed by tapping on the three vertical dotted button belongs to it.
- Now from the opened menu, tap “Remove” to delete the file to the Trash. To select multiple files to be removed, please refer this section “How to Select Multiple Files/Folders (to Move, Remove)” (click on the up arrow button on the right bottom corner. After selecting the files, follow this section from the step 5 to remove multiple files.

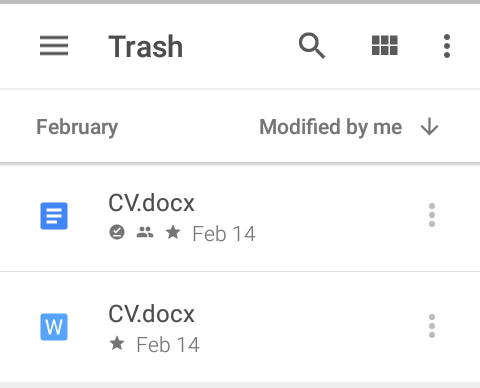
- The deleted files now appear in the Trash as seen in the following screenshots.

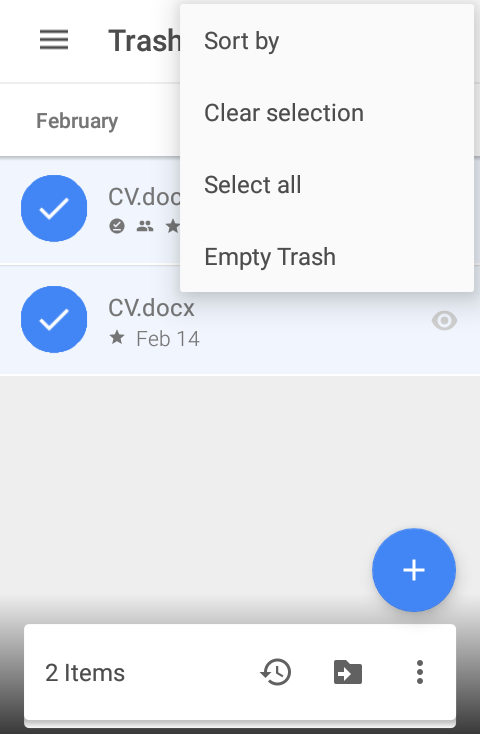
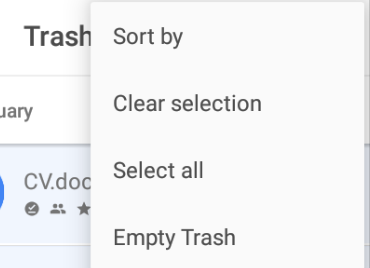
- To remove all the files in the Trash altogether, tap on the three vertical dotted button, then tap “Empty Trash” item from the opened menu.

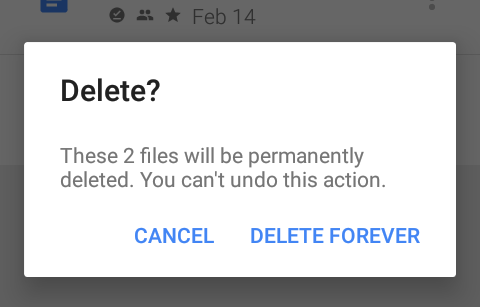
- To delete an individual file/files, select it, then delete it by tapping “Delete Forever” item from the opened window.


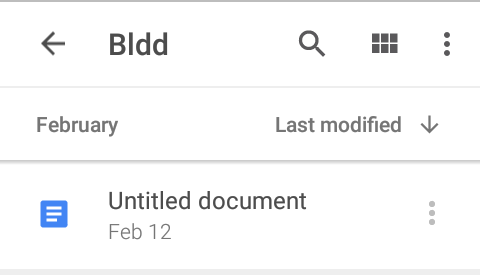
How to Sort Files
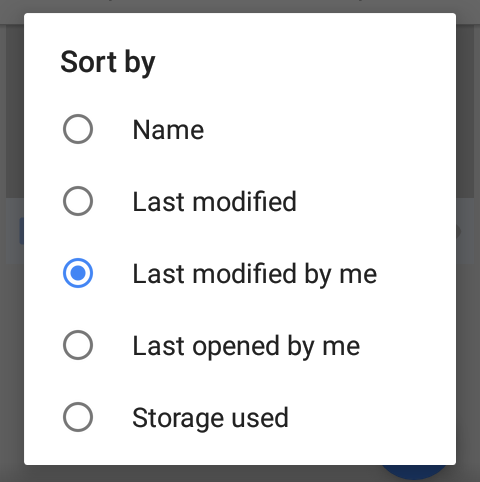
Sorting means arranging files by some order in order to make it easy to identify the attributes of the file. Google Drive app provides multiple attributes to sort by. Sort by name arranges the files by the name of them, Last modified arranges the files by the date when they were modified at last, Last modified by me arranges the files by the date when they were modified by the owner of the Google drive currently logged in, meaning this doesn’t take the modifications of people with whom the files are shared into the account when sorting, Last opened by arranges the files by the date when they were opened at last, Storage used arranges the files by the space that they utilize in the google drive.
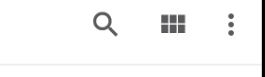
- Click on the three vertical dotted button

- Now select the “Sort By” item from the opened menu.

- Select how the files should be arranged in the list.

- To change the order (ascending, and descending) simply tap on the arrow button which is located right above the file list (as seen in the following screenshot)

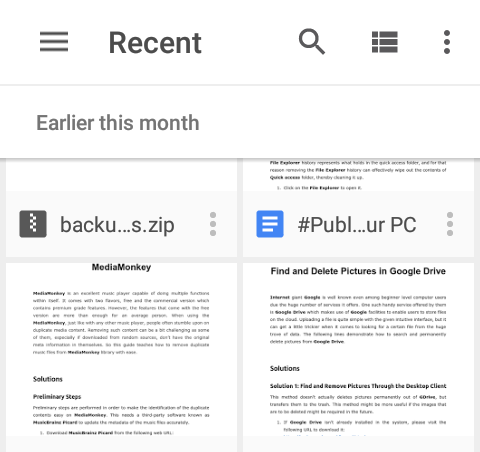
How to View Recent Files on Google Drive
The Recent Files window displays the files which are opened/modified recently. This is same as the browser history in any modern browser. The most recently used/modified files come on top of the list, while the rest go below depending on the date when they were used/modified This window is accessible through the three horizontal lines button located on top left corner on the Google Drive app.
 How to View the Files that are Shared with You
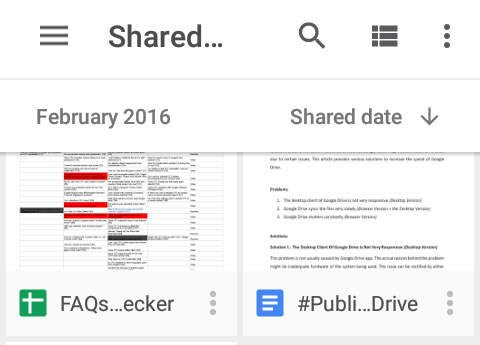
When a file is shared with you, it appears in this window which is accessible through the three horizontal lines button located on top left corner on the Google Drive app. Note that this does also show any files when they are shared by “Sharing Link” option. When they are shared by adding people into the allowed list, the people with whom the files are shared are displaying.
- All the files that are shared with the owner of the Google account are displaying in “Shared” window as seen in the following screenshot.

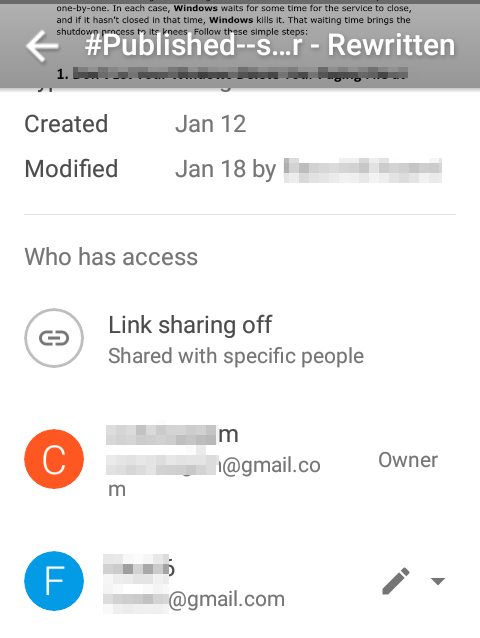
- To see who have access to the files, tap on the three vertical dotted button on the relevant file, then tap on the Exclamation mark right next to the file’s name.
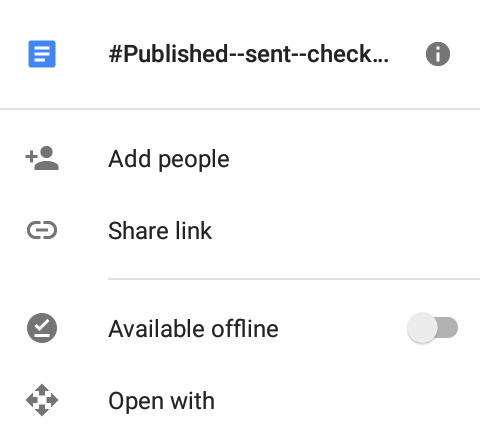
- Now it will show all the users who have access to the files which are shared. If the flink sharing option is turned off, file is only available to specific set of people, otherwise the file is viewable publicly as long as the link to that file is known.

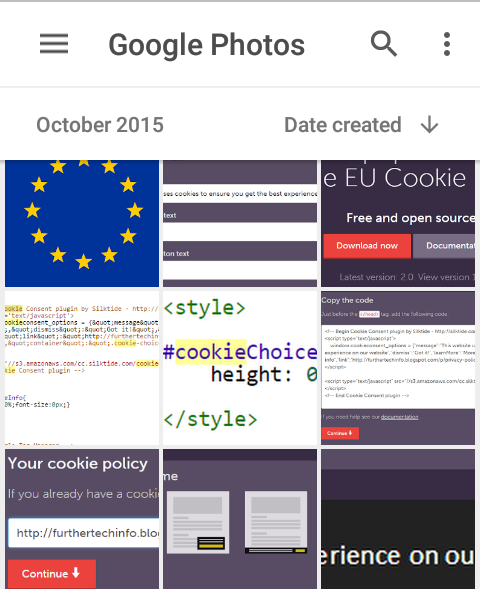
Google Photos
Google photos window in Google drive shows all the pictures stored in the Google photos. This doesn’t show any pictures stored in the Google drive, but in Google photos which is a separate product offered by Google themselves just as Google drive, and is designed to store only pictures. Be aware that this also shows the private photos taken from the camera app on the phone, if the “Backup and sync” (Settings -> Backup and sync) option is turned on on Google Photos app, and therefore it’s important to check this window more often to make sure only the wanted files remain in it. If it’s necessary to keep the private photos behind the door without uploading to the google servers, simply turn off “Back up and Sync” option in the Settings of Photos App. However, the synced photos won’t be removed from there even if the option is turned off. Nevertheless, the synced photos can manually be removed from the Google Photos window on Google Drive app via the method mentioned in this segment.”How to Delete a File, Files ,Folder ,Folders on Google Drive” (click on the up arrow button on the right bottom corner, then select the title from the table of contents)
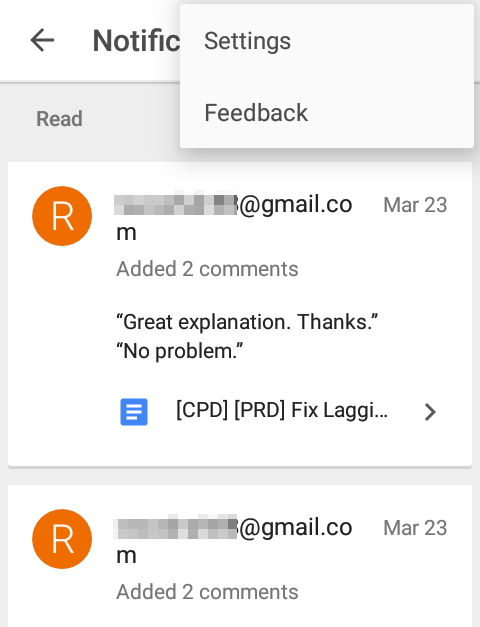
Google Drive Notifications
The notification window which is accessible through the main menu, shows all the received notifications pertain to the files, which are associated with the owner of the google drive, who logged in. The each notification contains the information of person who caused the notification to appear along with their email address, the comments if made, the number of new comments added, the name of the file, and the date when the notification was made.
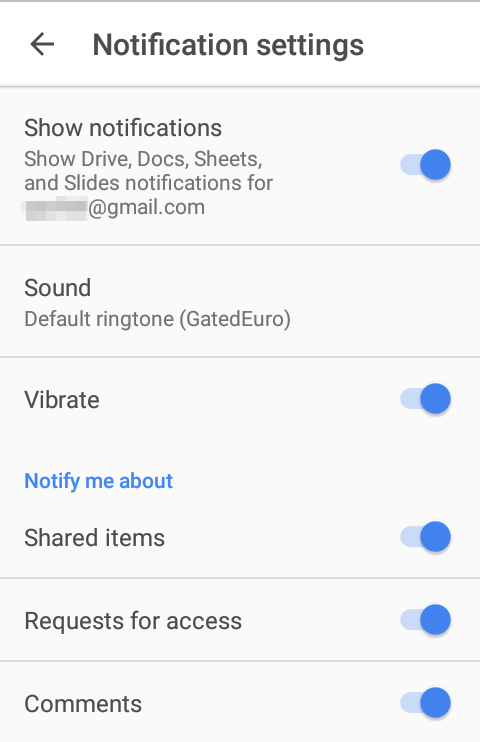
Options of the Notification Window
Note that the settings only work for the files that the user is associated with in any way.
- Show Notifications : Enable /Disable notifications related to the Show Drive folder/ Docs /Sheets / Sliders.
- Sound : The notification sound to make when a notification is received
- Vibrate : Whether to vibrate or not when a notification is received
- Shared Items : Whether to notify or not when a file is shared
- Requests for access : Inform when a request is made to access a file
- Comments : Inform when a comment is made in one of the files
- Send Notifications to Email : Email straightly to the gmail address instead of just showing the notification on Google Drive App.

Google Drive Settings
The Settings Window holds the options which define the behavior of the entire Google Drive, so make sure to be informed what the each one does before changing anything.
- Storage : Clicking on this button takes you to “How to Check Currently Active Plan on Google Drive” (click on the up arrow button on the right bottom corner, then select the title from the table of contents) section.
- Auto Add : Enabling this option results in creating a new folder in “My Drive” (on Google Drive) where the photos, stored in Google Photos, appear.
- Back and Reset : Tapping on this option results in taking to “Backup and Reset” section in Settings of Android operating system.
- Manage Backups : This section shows all the apps backed up to Google Drive, along with how much space each app takes, when the last backup was taken place.
- Clear Cache : Usually when a document is opened, it’s cached for some time until another document takes its space. The purpose of the cache is reducing the bandwidth consumption, latency and improve the response time. This option makes sure all the caches are cleaned. Good for a fresh startup.
- Enable Encryption : Encrypt the offline documents, thereby preventing the files to be opened in another device. This is useful just in case if the phone was stolen and if the hacker tried to access to the files through the internal memory/SD card without going through the security implementation installed by the user (password etc..).
- Transfer files only over Wifi : When this option is turned on, the files are synced only over a Wifi connection. This is useful to preserve the data when connected to a HSPA/3G/4G network.


How to Search on Google Drive
Search function is one of the most important functions in any modern operating system/ applications that use databases, because it assists in finding any file without wasting much time. Once the search query is inserted and ordered to search, the application automatically goes through each and every file stored in Google Drive, and returns the relevant files matched with the search query the user entered. Additionally, the advanced options provided in the Search further clarify the attributes of the file in order to get an accurate result.
When the search button is clicked, it shows a plain text field where the search query has to be typed. If the user wants to find a file of a specific type, the types given in the app can be selected. In default, Pdf, Photos and Images ,Text documents ,Spreadsheets, Presentations ,Videos, Audios can be seen as file types. When a file type is selected, the user doesn’t have to worry about the extensions of the file anymore, as the type automatically takes care of them under the hood. As an example there are a few dozens of image formats, and typing them all along with the search query will probably take some time.
Apart from the file types, the date can also be used as an attribute to search files. Today, Yesterday ,Last 7 days ,last 30 days ,last 90 days are some of the predefined date ranges to be used when searching files.


Assisted by Vipaj
I’m using google drive on my mobile and that is very helpful.
After reading this article I came to know much more features.
Thanks
thanks for sharing this article with us.