
WiFi is a technology which lets you connect your device to either an access point or another WiFi compliant device to transfer data back and forth, and it’s extensively used for connecting to internet wirelessly. WiFi is a big invention as it led to the discoveries of many wireless devices. Apart from using the internet, It’s possible to create a local network with WiFi, such as a home network which can be used for home automation or other activities like air printing or screen casting within the home, etc… The possibilities of the WiFi is limitless to the point that it’s difficult to live without WiFi in the modern world, and therefore it’s important to know how to connect to a WiFi network through the phone.
Before configuring the Android device the user should have a Wifi compliant router or adapter. Once it’s configured properly, the android device is ready to connect with it. This tutorial only covers the WiFi configuration on Android part. However, it’s same for all other platforms as well (Windows, iOS , Firefox OS etc..).
You need to use a WiFi password for tightening the security of the WiFi network. However, if the WiFi network (a network with which the WiFi compliant device connect) wasn’t secured with a password, which is then considered as an open network, typing the password to connect with the network isn’t necessary, as the network itself isn’t secured. To connect a WiFi network whose SSID (name) is visible, and is, broadcasting, use the following steps.
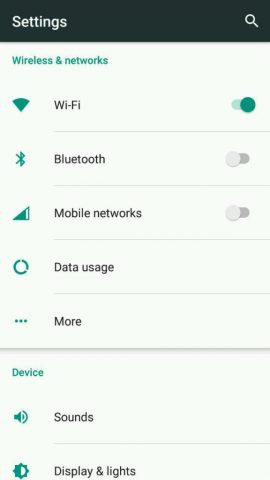
1. Navigate to Settings
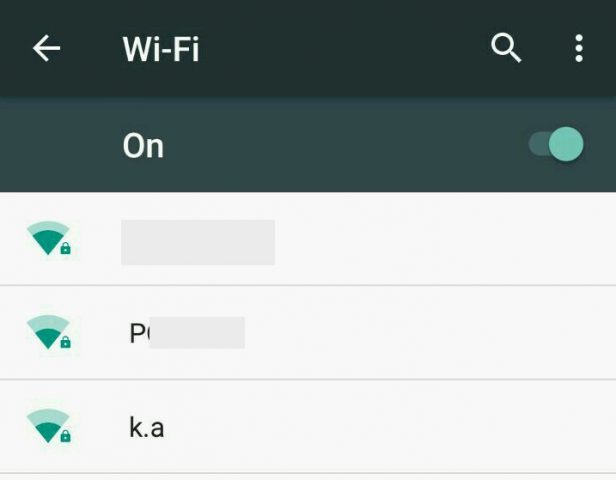
2. Click on WiFi and turn it on. You will now see a list of available networks displaying.
3. Tap on the name of the WiFi network to be connected with.
4. Enter the password in the space provided and press connect. The password can be made visible by ticking the “Show Password” checkbox. If there is a proxy server with which the network is enclosed, then use its address instead of using “None” in “Proxy”. the DHCP value obtains the ip address of the node of the network automatically on the fly, but if it’s not connected with, then simply use the IP address of the network node by turning to “Static” in “IP Settings” option. Please refer the documentation of the network node to find out the ip address of it. Typically it starts with 192.168.1.x.

To connect with a WiFi network whose SSID is not being broadcasted, that is, the name does not appear in the list of networks, use the following steps
1. Go the settings
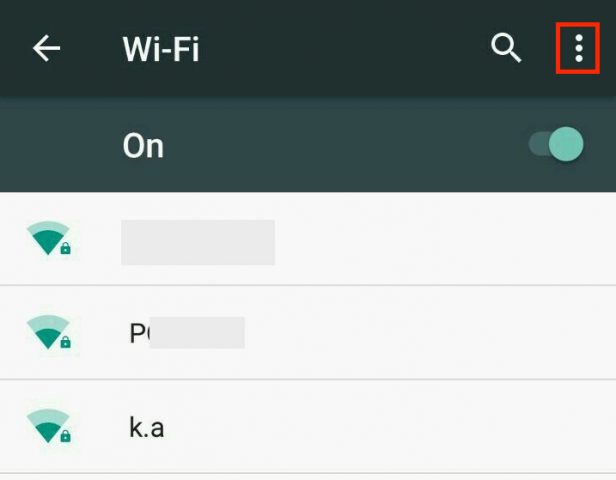
2. Click on WiFi
3. Click on three small dotted button on the top right corner
4. Click add network
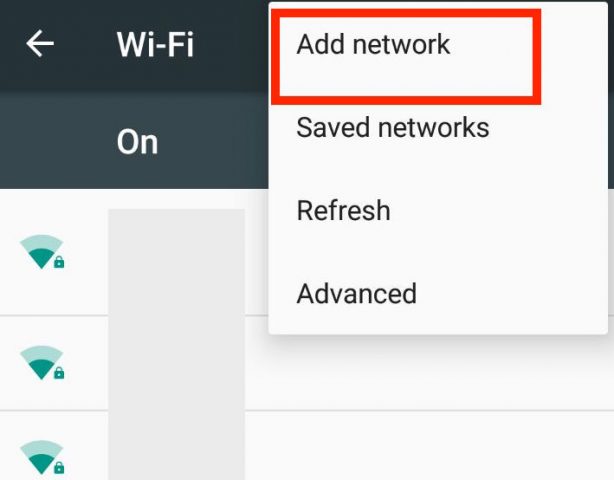
After clicking add network, the following window will appear
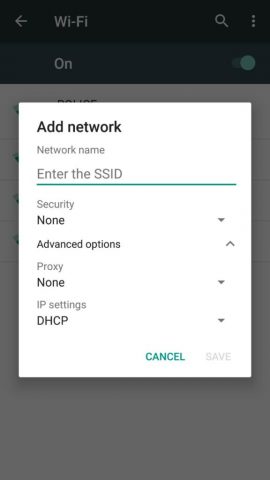
5. Enter the WiFi name or SSID under SSID
6. Under security, select the security type that your router is encrypted with. It is usually WPA or WPA2.
7. Enter the password
8. Press connect
That is it. Remember you need to add the network only once, as android has the ability to save the successful attempts. Then it will connect automatically in the next time you are in its range.